
Pin Stripe Decals
|
|
Installation
Instructions Pin Stripe Decals |
Please follow the instructions below for proper installation of your Pin Stripe Decals.
(Caution – Avoid direct sunlight and do not apply on hot surfaces)
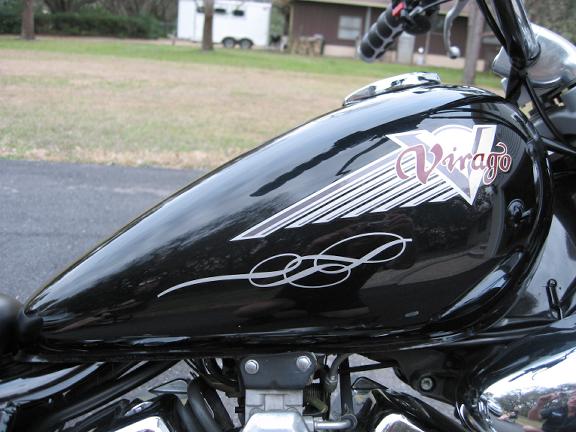
Click Photos to Enlarge
 |
 |
 |
 |
 |
 |
 |
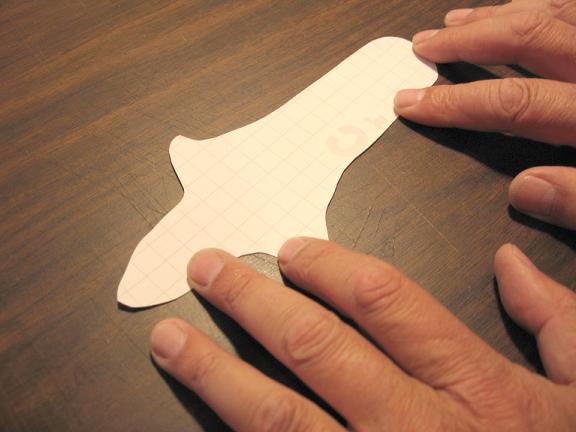
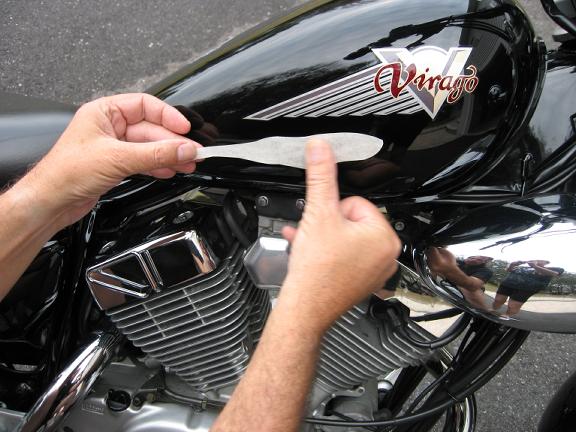
1. Place decal "FACE DOWN" on a flat surface. Remove Decal Backing Paper by Lifting a corner of paper and slowly rolling back the "PAPER BACKING" off the decal. Avoid touching the adhesive side of the pin stripe decal at all times. The topside of the decal’s transfer tape will remain on until the end of the installation.
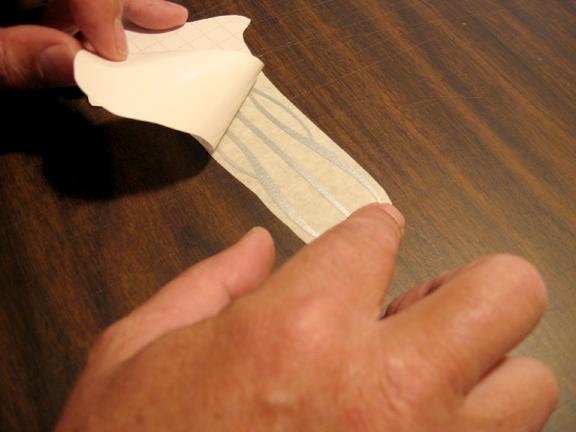
2. Pick up decal being careful not to allow it to fold onto itself. Hold it tight at both ends.
3. You are now ready to apply your Pin Stripe Decal. Holding it taut at all times, tab down the right end of the decal to the surface while holding the remainder of the decal up and away from the surface at a slight angle.
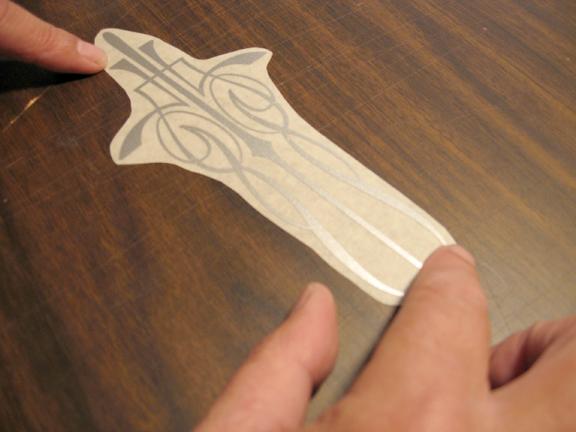
4. Using your fingers begin to rub down on the surface of the decal with the transfer tape still on top!
5. Once the decal is completely installed (do not remove the top transfer tape), continue to wipe all areas of decal firmly to minimize any bubbles.
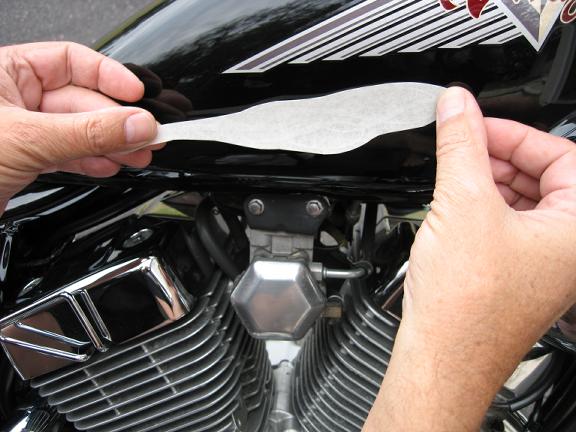
6. Now it is time to remove the top decal transfer tape. Grab a corner and begin to slowly roll back the top tape off the installed decal.
7. Wait 24 hours before applying any wax!