Installation Instructions
|
|

Wet Application!
|
Installation Instructions |
|
Wet Application! |
Please Read Before Installing Decals!
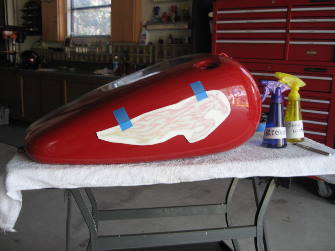
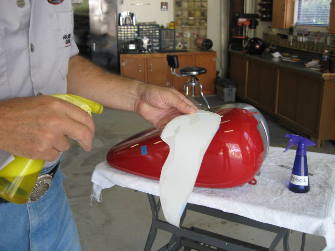
Tank shown below is for demonstration purposes only! It is not necessary to remove any parts from your motorcycle to install Decals!
Prepare a spray mist bottle with warm water and add one tiny drop of liquid dish soap Clean surface with a soft clean cloth and household alcohol. Completely wipe the area at least 3 times to ensure removal of oils and waxes for proper adhesion of your vinyl decals. (Caution – Avoid direct sunlight and do not apply on hot surfaces) For best results, surface temperature should be above 70°F and below 90°F
|
|
|
|
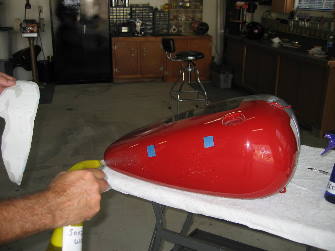
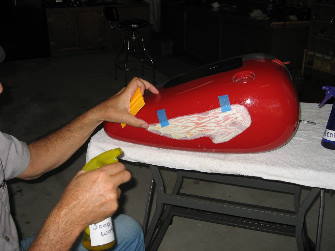
Use masking tape to position decal on tank!
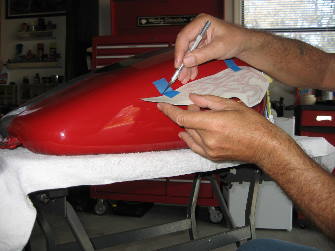
Pull Decal away from paint and carefully cut masking tape with exacto knife or single edge razor blade!
|
"BE EXTRA CAREFUL NOT TO CUT PAINT" |
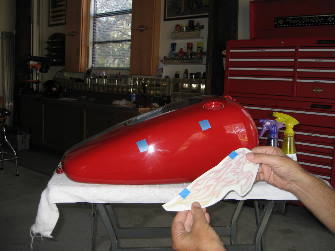
Leaving behind masking tape as registration points.
|
|
|
|
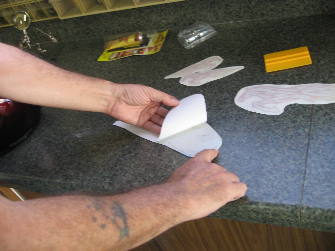
Remove Decal-Backing Paper by placing the decal face down on flat surface. lift one end and roll back!
Lightly mist exposed adhesive side of decal with spray bottle.
Lightly mist surface area where decal is to be applied.
|
|
|
|
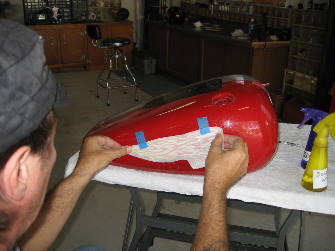
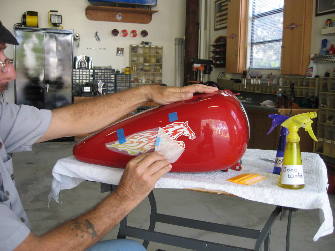
Place decal in position using masking tape as registration points.
Squeegee from center of decal to outer edges to remove air bubbles and any remaining water. The more you soak the top layer "transfer tape" the better the decal will conform to curved surface.
Wait 10 minutes and spray the top of the decal transfer tape and soak the surface again. This will help release glue from transfer tape.
|
|
|
|
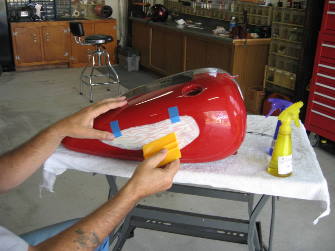
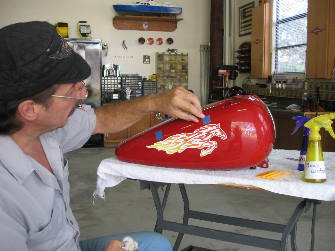
Grab a corner and begin to slowly roll back tape off the decal. If the decal begins to lift with tape, lay it back down re-squeegee and wait a few more minutes.
Remove remaining Masking tape.
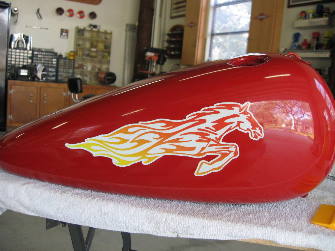
Wait 24 hours for Decal to completely dry before Waxing.
| Al March on YouTube |
| https://www.youtube.com/watch?v=4fabm_YOXGQ |
|
DECAL SQUEEGEE $2.00
|
|